
“It was a pleasure to hear our neighbors complimenting the project and the crew’s professionalism.”
— John Costakis | Glasco CT
An Entertainment Space to Last a Lifetime
| GLASCO, NY |
Total Time to Accomplish Project: 1 month

The crumbling foundation and retaining walls.
We were called by the Costakis family in Glasco, NY to discuss a patio project that overlooked the Hudson River.
The location was breathtaking! However, after touring the property, we discovered there was more to replace than just the patio.
The existing “foundation” of the patio was in serious disrepair and it was clear that the larger part of the work would involve rebuilding 3 crumbling, existing retaining walls.
The existing walls were in no shape to support the weight of a new patio or the prep work that would be needed to build the support structure for the new patio.

The retaining wall area was about 3-4′ wide and then dropped off 75-100′ down. A challenging workspace for heavy machinery, to say the least!
We faced major construction issues.
The crumbling foundation of the existing patio, AKA the existing retaining wall, was going to be a large (and quite grueling) part of the project.
Access to the actual site of construction was limited and extremely challenging.
We had 9 serious challenges to consider before we could begin:
A small excavator and a small loader would need to access to the patio and the retaining wall area to demolish the patio and re-build the retaining wall.
The only access to the patio was two entries wide enough to fit a person and a wheelbarrow.
The existing patio floor was several layers of asphalt and was buckling.
The existing patio was on a very steep slope perched 100′ above the Hudson River.
There was an existing 8′ high block wall that had been improperly installed.
The block wall was never anchored. It was blocks of pavers stacked on top of each other. It could not be disturbed, or it would crumble into the neighbor’s property.
There was also an existing cinder block garage that was being supported by this deteriorating patio and crumbling retaining walls. Disturbing the support would cause the garage to come tumbling down.
The area to work on the retaining wall was narrow and steep.
Meeting the budget was an extra challenge on top of all of this.


These challenges weren’t enough to stop us from turning our client’s vision into a reality.
After considering these factors, we knew there was one option for the retaining walls: Gabion baskets. Fortunately, it was something our client readily agreed to.
This new Gabion basket retaining wall would serve both as a retaining wall for the soil behind the excavated patio area, as well as a solid and strong foundation for the new patio and existing garage.
How the Work Began:

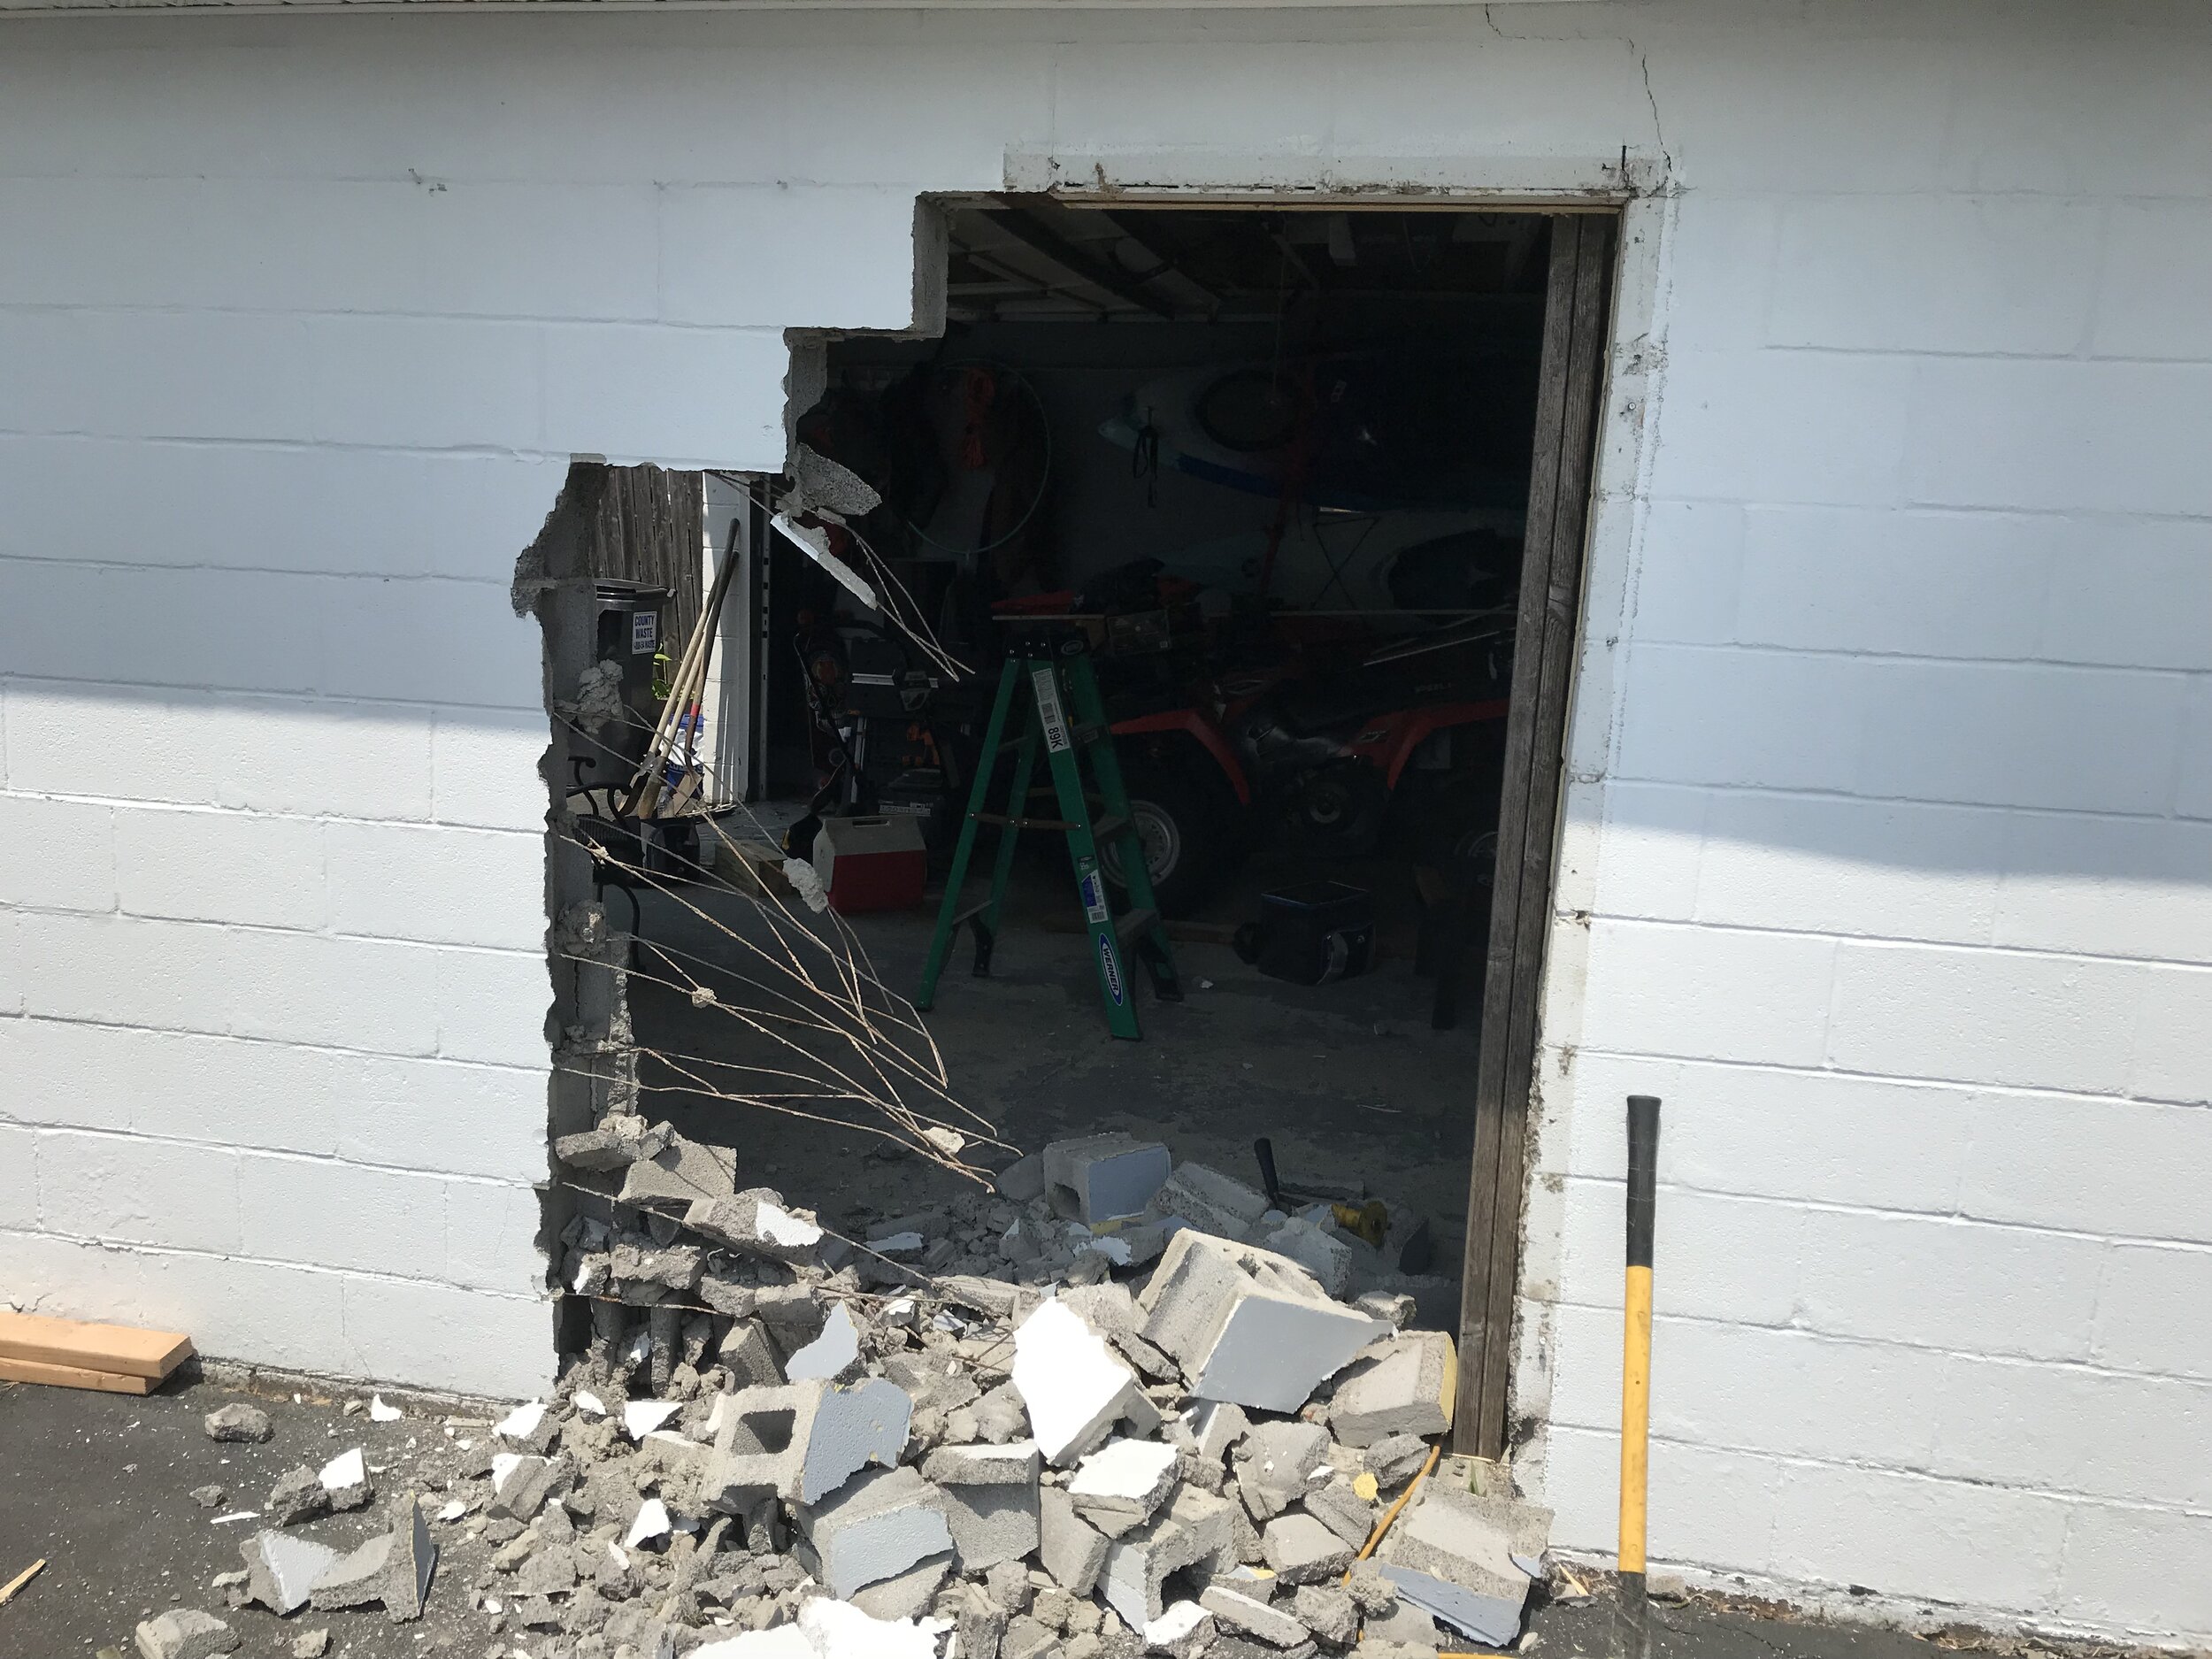
First, we had to create access to the project site. This was accomplished by cutting through the garage for our mini excavator & loader. This was agreeable due to the fact that the client wanted an easier way to bring patio furniture in and out of the garage.

Having access to the patio would allow us to begin the work for the wall. This would include:
Prepping the work pad, above the wall area to safely lower material down.
Prepping the “floor” for the first row.
Prepping the “shelves” for the subsequent rows of baskets.
Filling the assembled baskets with the stone.
With the work areas and prepped, the building of the Gabion basket wall could begin.

We concentrated on one section at a time deconstructing and building as we went:
First, deconstructing the existing concrete and block retaining wall.
Next, excavating down to the starting elevation.
Then, building our first course of Gabion baskets and building as we went.
Working 6′ sections at a time.

Another important reason to install the new wall this way was that the old concrete wall held up the back of the garage. As noted, the back of the garage and the existing wall were both crumbling, so if we removed the entire existing wall, the garage would have come down with it.
The completed Gabion basket wall was 60′ long x 7′ high, at the highest end and diminishing to 5′ high at the lowest end.
Each row alternated, the first row laid end to end. We leveled the earth above/behind that row, leaving a shelf for the next row of baskets. That row would be laid down side by side, for that 6-foot course, and so on.
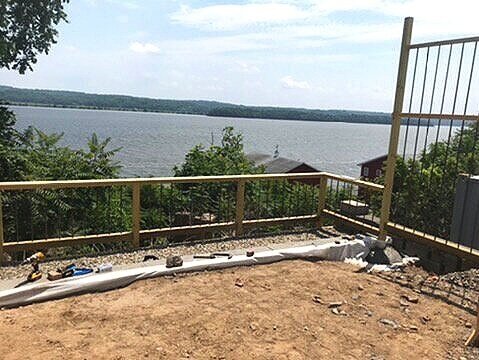
The final phase of the wall involved adding the 2′ x 12′ rim board and decorative face which would also serve as the “frame” for the railing that would border the patio above.
And with that, the Gabion retaining wall was complete.

Phase 2: the Patio.
The retaining wall allowed us to create a sturdy railing that would border off the patio. With the railing inset with spindles and the recessed area in front of the railings completed, we could begin to focus on creating a unique patio space, one our customer had been dreaming of.


Denise Martin, head of the design team, sketched up a fresh patio concept together with our client. Their input was our number one priority and we offered suggestions where necessary, in order to safely and accurately achieve their vision.
The Costakis’ family wanted an entertainment space that could:
1. Host a good number of friends and family for parties.
2. Encourage a nourishing exchange of good food and conversation.
3. Offer natural privacy.
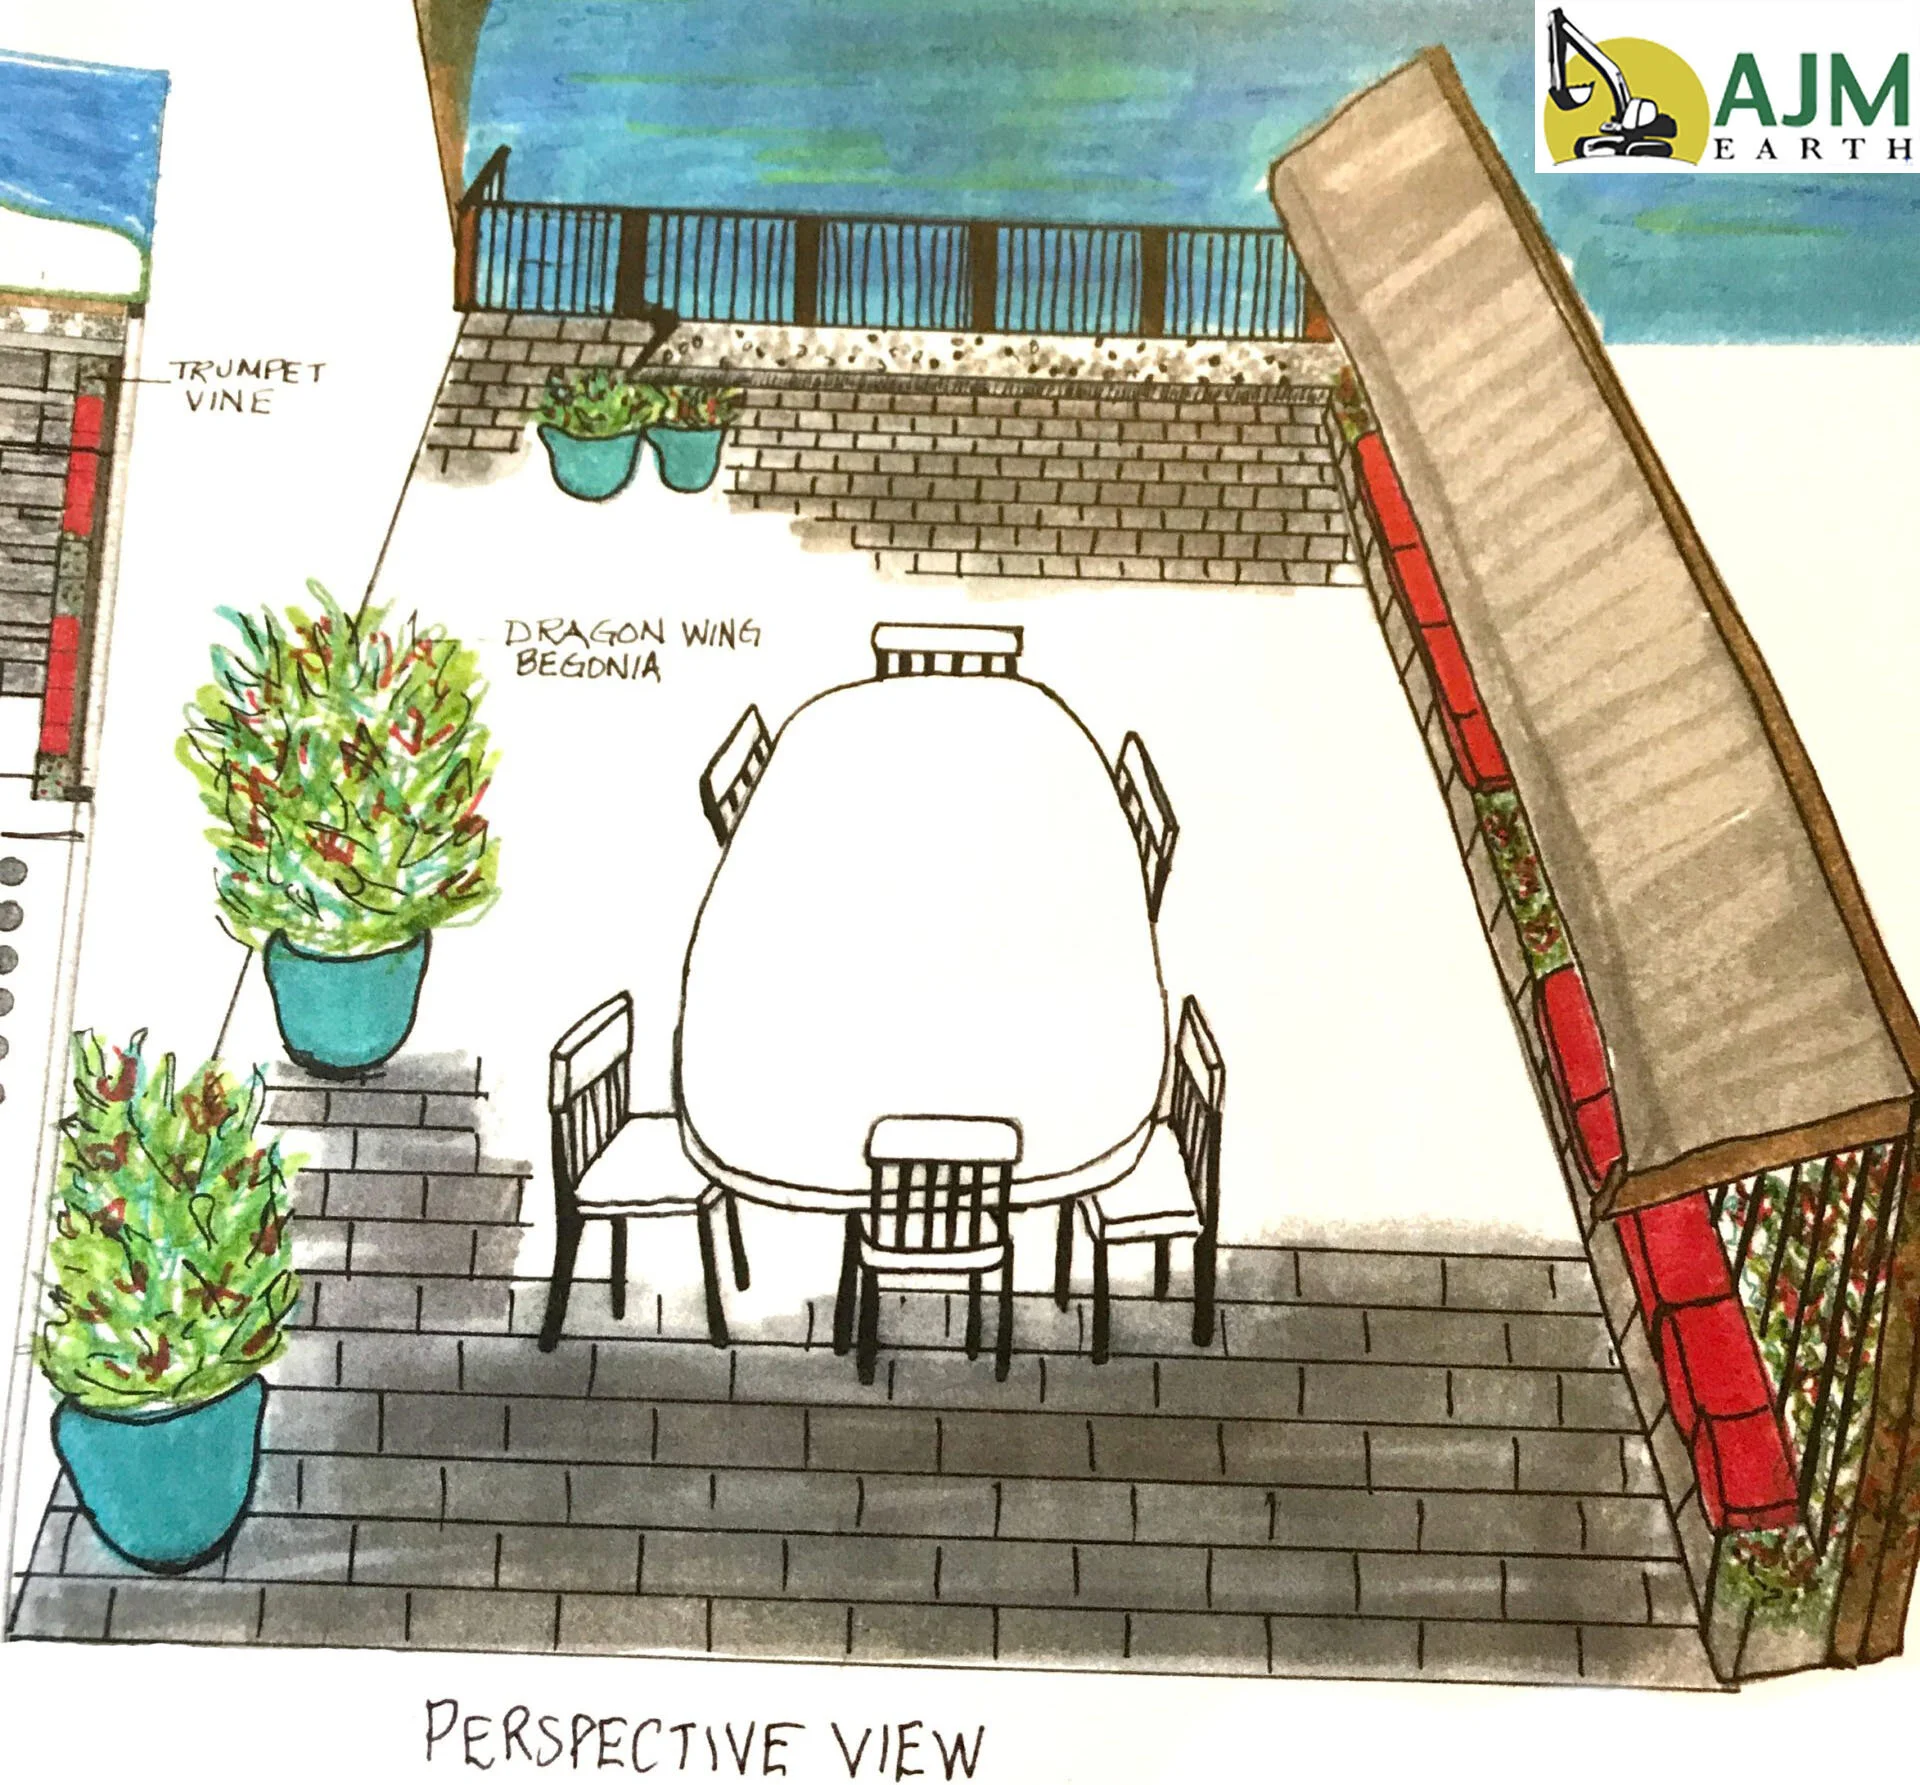
Denise’s original concept
For the magnificent beautiful view their property offered overlooking the Hudson, it was easy to dream up an inviting concept that met their design ideals.

While the Gabion wall was being built, John and Jennifer asked for a change from a paver to a local fieldstone patio. More work for us, because it was now a custom job, but definitely more beautiful in appearance.
It was time to get to work demolishing the existing blacktop in order to create a fresh base for the fieldstone patio. Our team got right to work!
Over the following week, we brought in countless fieldstone pieces, and like a hand-crafted puzzle, hand-hewn each stone to fit a unique design for their backyard. Each placement required a careful eye, a steady hand, and a professional touch, which our talented team brought in spades.

Our talented team working together quickly and efficiently.

Joe bringing in a large order of fieldstone on his loader.

Joe and Denise working together to gauge ideal stone placement.
It was of utmost importance to Joe and Denise that they stay in close communication with the Costakis family throughout the duration of the project. We worked off of our client’s requests and offered unique designs in turn.
It took our team just 10 days to finish the fieldstone patio.
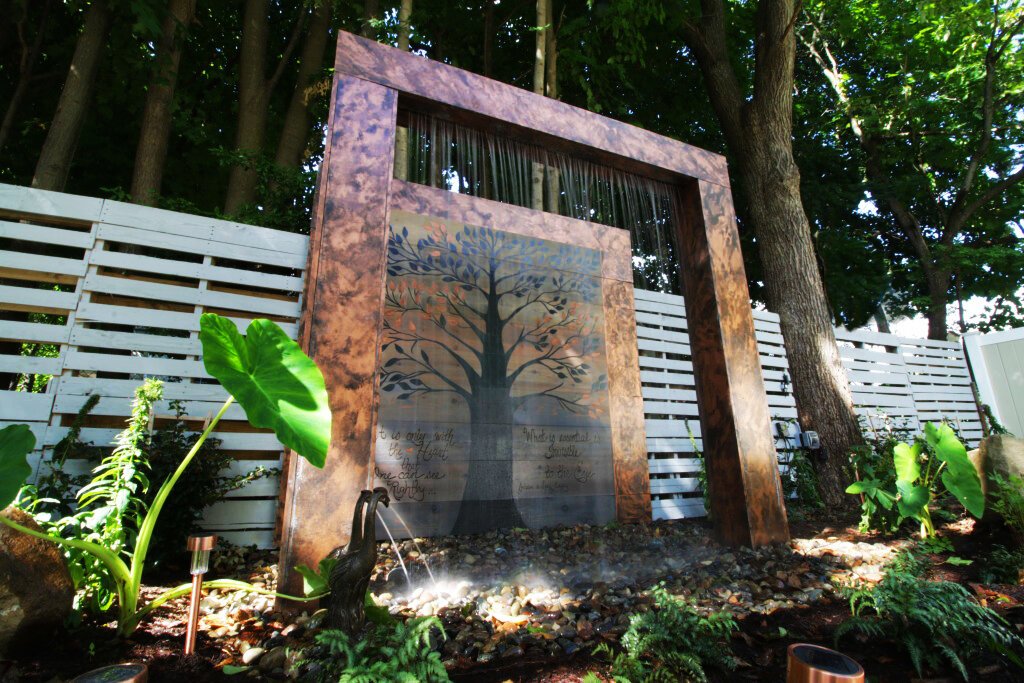
Phase III: Installation of the Privacy Screen and Wood Trellis
Next came the installation of a natural privacy screen. The layout of this screen would include a hand-crafted wood pergola, cushioned seating, and flower boxes planted with various perennials and climbing ivies that would climb the trellis to provide an all-natural privacy veil.

These clients weren’t gardeners, so we built planters for annuals and edibles, to add just enough color and all they had to do was water and watch it grow!
Final Phase: Garage Door Installation and Clean Up
The final step to complete the project was building the garage door and cleaning up. The entire project took a little less than 2 months from start to finish and clients were ecstatic.

Our crew implements real knowledge of construction and structural integrity with the goal of creating a one-of-a kind project that is unique to our client’s vision.
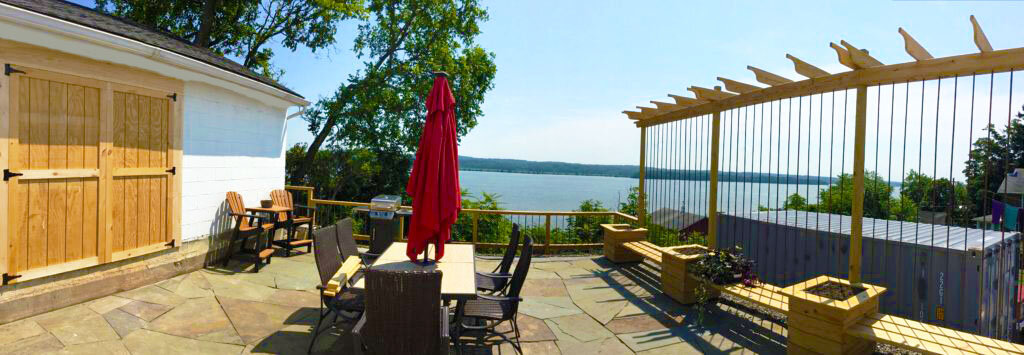
The Costakis family finally had an entertainment space they long dreamed of. The new outdoor space became the perfect place to host barbecues, entertaining family, or just sitting outside on quiet evenings enjoying views of passing boats on the Hudson.
From start to finish, this project took only 30 days to complete.

(BEFORE AND AFTER) A ONCE DISMAL BACKYARD TURNED INTO A BEAUTIFUL, PRIVATE ENTERTAINMENT SPACE

“AJM Earth team, thank you for the excellent job!
Our project had several challenges, and AJM offered us their ideal design, project management, and all the necessary engineering as part of their scope.
From the beginning, AJM Earth not only provided their estimate, they also presented a complete project plan and took the time to review and answer any of our questions.
Also, it was a pleasure to hear all our neighbors complimenting the project and the crew’s professionalism.
Denise and Joe, thanks again for everything. We look forward to having your company start the next project in the spring!”
— John Costakis | GLASCO, NY
Do you want an entertainment space to enjoy this summer with your family?
Call AJM Earth now for a free estimate on your project!
TOUR SIMILAR PROJECTS: